
I hope you had a great weekend. I had a busy few days as I spent Friday and Saturday with the US Women’s Olympic Team, then headed a little north to watch UMass Lowell’s home opener with my friend Devan McConnell. As always, it was great to work with all the girls and the coaching, medical and support staff with the US Team. Such a great group of people. It was also nice to finally get to watch some hockey!
As you may know, I spend the better part of my non-coaching time attending courses or reading research/books on a variety of topics within the fields of sports training, manual therapy, and physical therapy. The underlying scientific explanations and interactions are of particular interest to me, because these create the foundation for the way the body adapts to everything we throw at it, from a therapy or training standpoint. In the realm of recovery, there is A LOT to consider. With the advances in technology and the efforts of private companies to simplify taking your health into your own hands, it’s now easier than ever to measure things like heart rate variability, nutrient status, food sensitivities, and hormone levels, all of which can have a profound impact on an athlete’s ability to adapt to further training stresses, and therefore are worth monitoring. A couple weeks ago, I finished reading Biochemical Monitoring of Sport Training by Atko Viru and Mehis Viru that dives into these topics in further detail. It’s a little outdated at this point, but still has a lot of interesting information.
That said, the reality is that only a small portion of the athletic population are even aware of these factors, let alone the importance of monitoring them. Those that get this far still may not know HOW to monitor these things and/or be able to afford the available options. Furthermore, it seems silly to track a lot of these things when most athletes have sporadic sleep patterns and horrific diets. As is often the case, recovery efforts, and therefore maximizing your ability to adapt, starts with mastering the basics.
This was a main part of the 2-hour talk I gave to the Flyers Junior Team at the beginning of the season. The goal is to simplify powerful strategies that you almost always have control over, so that you can be CONSISTENT in adhering to these basic concepts. Below are 3 powerful strategies to maximize recovery.
1) Stay Hydrated
Even mild dehydration can significantly impair physical and mental performance. This is one of those things that everyone knows, but few athletes are diligent about adhering to. Keep a water bottle with you sip water throughout the day. There are lots of water recommendations, but the easiest way to assess how you’re doing here is by checking your urine color. Clear, consistently, is the goal. Naturally, the more active you are and the more you sweat, the more fluid you’ll need to replenish. If you’re a heavy sweater and/or prone to cramping, it may be worth looking into picking up some Gatorlytes, which are just packets of electrolytes to give you a little extra sodium, chloride, potassium, calcium, and magnesium. When you sweat, you lose water AND electrolytes. Your body likes to keep a specific concentration of electrolytes based on the amount of circulating fluid to optimize a number of processes (like muscle contraction). If you only replace the water, you’re missing a big piece. A lot of people do fine with this simply from eating food or from taking a quality sports drink like Biosteel or Generation UCAN, but some athletes benefit from getting in a little extra. Gatorlytes are easy to transport and take in a hurry, so there a good option. You can get them at a lot of places, but I tend to buy a lot of my supplements from a site called Vitacost.com because you can get quality brands at discounted prices.

The most powerful supplement there is…
Anecdotally, I can tell you that a lot of times when players come to be complaining about early fatigue in practices or games, and a variety of other symptoms like not being able to concentrate or getting headaches, poor hydration is an underlying factor.
2) Get Quality Sleep
When it comes to minimizing the damage of accumulated stress (e.g. that from training, practices, school/work, relationships, nutrition excesses or insufficiencies, and the environment), nothing is more powerful than quality sleep. Simply, it’s time for your body to rest, repair, and regenerate. We are very poor “resters” in our country. From a practice and training standpoint, there is often an overemphasis on “doing” and an underemphasis on “adapting”, which takes a more holistic look at the stimulus-recovery relationship. That said, even those that try to sleep long enough may not be getting quality sleep. Here are a few tips to help get you started on the right path:
-Track the number of hours you sleep every night. The goal is to be above 8 every week. Factor in that it probably takes 30 minutes for you to fall asleep, meaning you’ll need to set aside closer to 9 hours to get 8 of sleep each night.
-Go to bed and wake up within an hour of the same times every night THAT YOU CAN. In short, get off of Twitter and Facebook and stop texting in bed. -Remember the phrase “An hour before midnight is worth two after”
-Keep the room COLD, DARK, and QUIET! Use blinds to block outside lights, turn alarm clocks away from you, place cell phones face down (so you can’t see the light), and turn off your ring or vibration. It can wait until the morning.
All of these things can go a long way toward improving your sleep quality. If you have trouble falling asleep, I’d look into picking up an Earthing Sheet (Read more about this here: Recovery Week: Earthing Products) and/or a magnesium supplement like Poliquin’s Uber Mag Px or TopicalMag, both of which are great at quickly quieting your mind and helping you transition into a deep sleep.
Rub a few squirts of this on your feet for the best sleep ever…
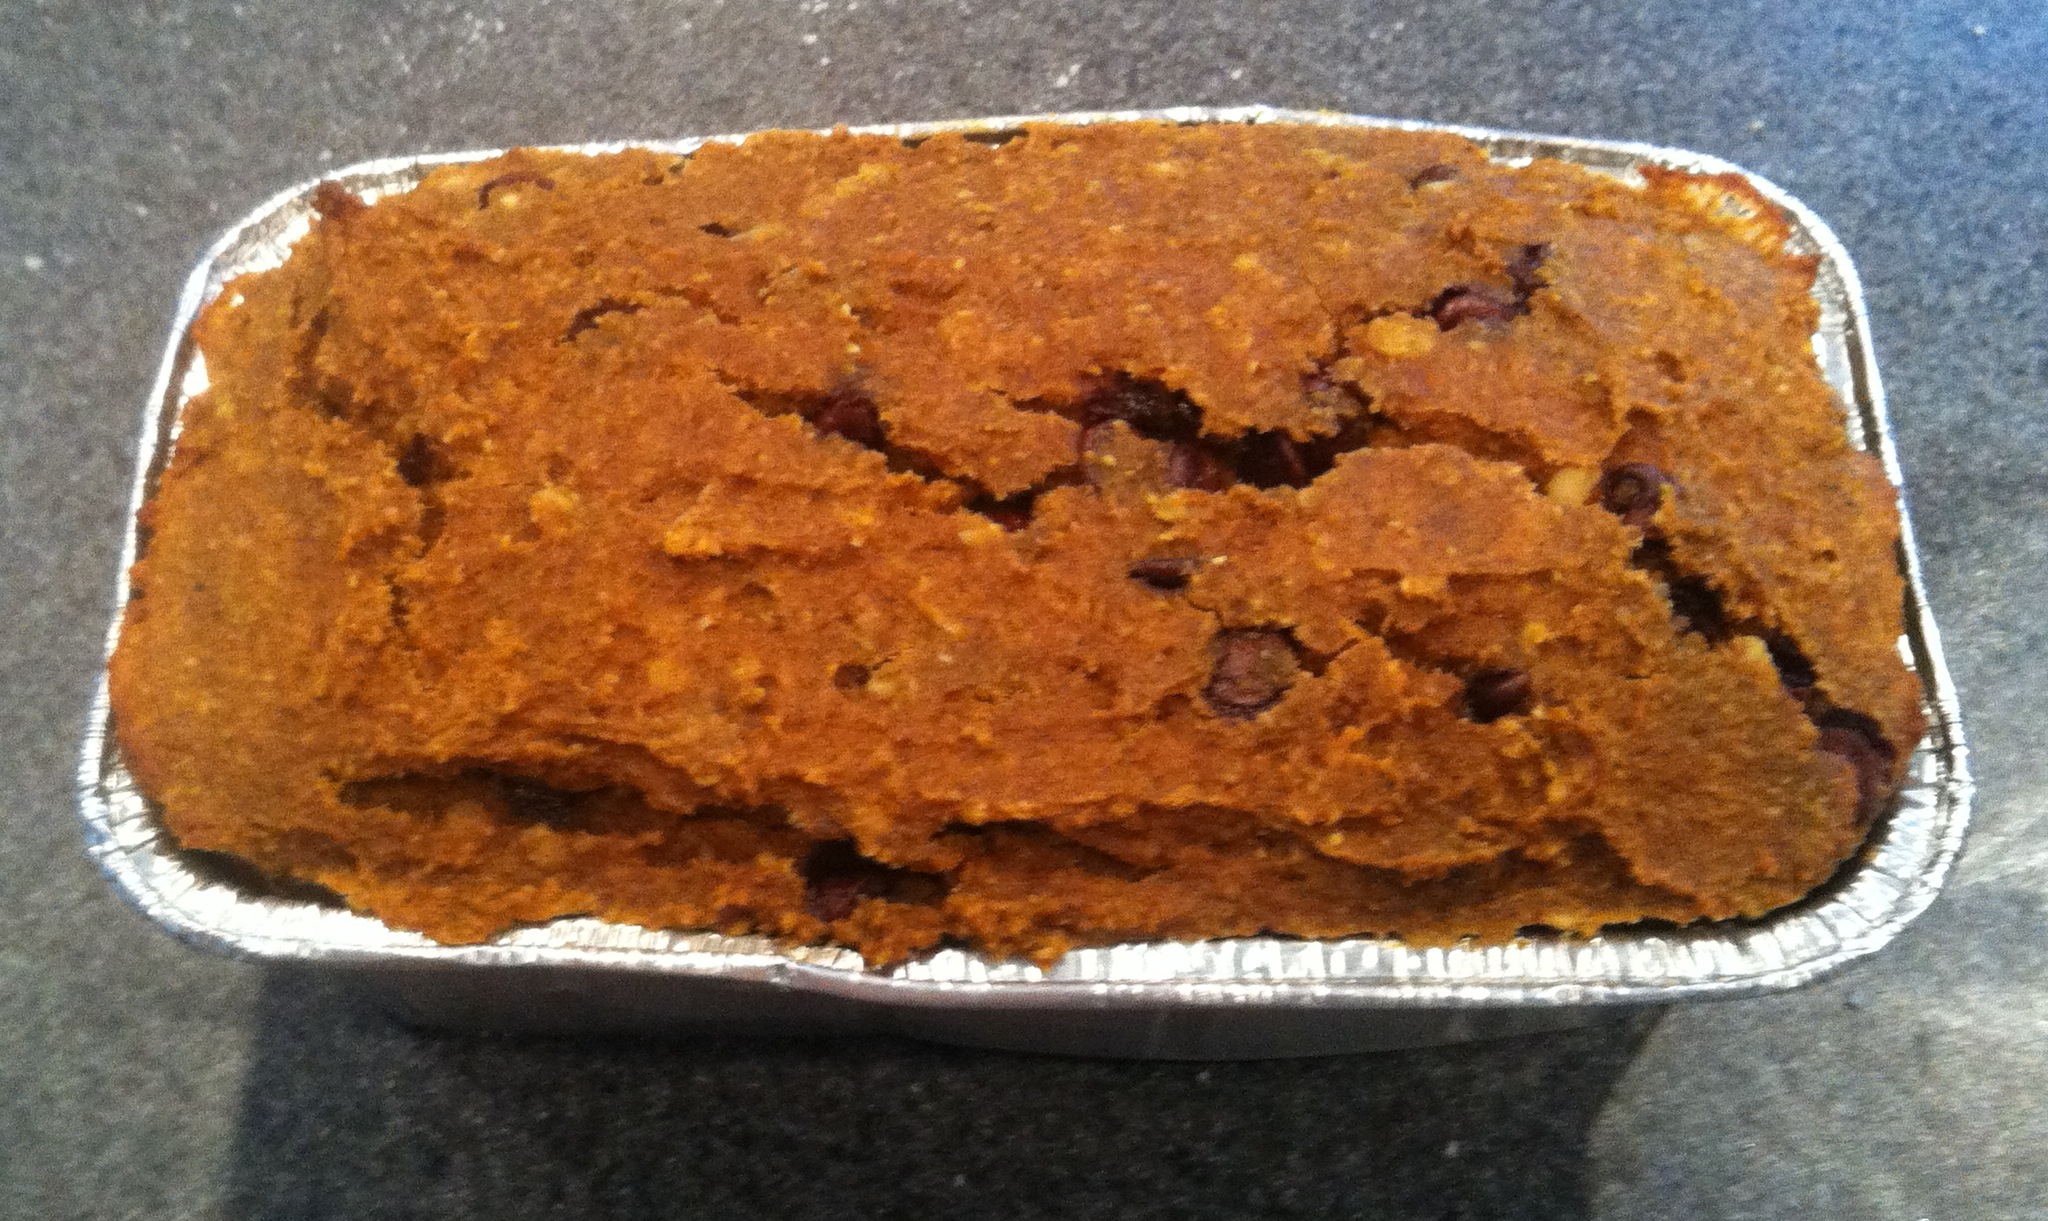
3) Eat REAL Food, Almost Always
Simply, real food can be hunted or grown. The overwhelming majority of the kids I talk to eat very little, if any, real food throughout the day. Most eat something along the lines of cereal, sandwich with chips, and whatever my parents cook me (typically pasta or chicken…and pasta). Everyone can do better. The overwhelming majority of food that enters your body should be meats, eggs, vegetables, fruits, nuts, seeds, and various oils (e.g. Extra Virgin Olive Oil). The food you eat literally provides the building blocks for every structure within your body. If you build your body with garbage, you will feel and perform like garbage. This may express itself in different forms. Some people get fat, some are moody, some have frequent gastrointestinal distress (cramping, bloating, farting, etc.), some have poor energy or attention spans, some have a difficult time putting on muscle mass, and some are more injury prone (among others). NO ONE is unaffected. Think about the meals you have over the last week and how many of them have been comprised of real food. Start by changing breakfast and move on from there. There are TONS of quality meal ideas in Ultimate Hockey Nutrition so check that out if you’re not sure where to start.
I tell our players that there are times when you don’t have control (or you have less control) over what foods you can eat (e.g. on the road), so it’s important to eat as well as you possibly can during the times when you DO have control (e.g. during the week and during weekends with home games). The goal is to spend as much time eating “right” as possible, so maximizing controllable opportunities is a big piece of the puzzle.
As you can see, there is nothing overwhelmingly advanced about any of these strategies. Every athlete has almost complete control of these at all times. Although none of these are very “sexy”, they are extremely powerful. In a couple days, I’ll be back with a few more recovery considerations, but until then, stick to the above and start gaining some momentum toward optimal health, recovery, and performance.
To your success,
Kevin Neeld
OptimizingMovement.com
UltimateHockeyTraining.com
Please enter your first name and email below to sign up for my FREE Athletic Development and Hockey Training Newsletter!

 Use CODE: "Neeld15" to save 15%