This “Thursday Throwback” features an article I wrote over 4 years ago that overviews what may prevent someone from squatting deeply, and an assessment you can use to check your squat depth. Over the last several years, I’ve read a ton of research on hip anatomy and progressive structural changes. In the end, it seems that structural limitations are becoming more of the norm than the exception and it is incredibly important that coaches AND athletes/lifters recognize that what was previously considered a full squat may not apply to everyone/you. Symptoms of squatting past your range can manifest in many ways, but two of the more common ones are low back pain and anterior hip pain. I’ve also seen pretty significant discomfort in the piriformis, adductor complex, and TFL as a result of this pattern.
Check out the post below, as well as the article I link to, and please feel free to post any comments or questions you have below. This is an important topic that affects just about everyone that trains (or moves)!
The Truth About Deep Squatting
About a month ago, my article “Battling Anatomy: Implications for Effective Squatting“, was published at SBCoachesCollege.com, a website I couldn’t say enough good things about.
The other day I received an excellent question from Jason Price, Founder and CEO of Athletes Equation.
“Hello Kevin,
I read you article on SB Coaches College today and really found it informative and enjoyed it very much. I did have a few questions after reading that I was hoping you could provide me with some further information or clarification. What I have noticed with many of the youth athletes that I am training is that their hip mobility is terrible. I too have utilized the “touch and go” method to control how much depth they can attain until they have improved their mobility. I have found this to be a fantastic method for most athletes. But, I was thinking after reading your article about athletes which are dependent of being in the deep squat position in their sport. I train several weightlifters and one of them still suffers from a very similar condition as the individual in your videos. I am wondering what suggestions you would have for me in coaching this individual. In the sport of weightlifting as I am sure you are aware you must get into the deep squat position to effectively clean and snatch significant weight. My athlete does not have the significant discrepancy one side to the other. But, he does have the tuck under at the bottom of the deep squat position. So how can I effectively train him to receive the barbell deep in the squat with this technical flaw without placing him in this potentially hazardous position? Should he not squat deep? Do you know of any methods outside of orthopedic evaluation for anatomical abnormalities?
Again, fantastic article i really enjoyed it and felt you gave many of the readers an alternative viewpoint as to why some of these technical breakdowns happen. I appreciate your time and any response.”
My immediate thought is to first consider that everyone is not built for deep squatting. Despite the increasing usage of pictures of babies in a deep squat position as evidence for this ability, the hip joint and associated ligaments change as a natural/circumstantial part of development, that may result in a range of motion (ROM) limitation in some people. Having said that, it’s always better to assess than guess.
With regards to the lifter in the article video, the side-to-side discrepancy simply indicates that only one of his hips, the right one, lacks full ROM. In his case, I was able to recommend he see a hip specialist because he had multiple signs of CAM impingement. Notably, he lacked internal rotation ROM on the right side compared to the left and flexion/adduction on the right side was extremely painful.
Getting more to your question about the bilateral hip tuck, the first thing you could try is to coach him to push his knees out while he’s going down and to keep his knees out while driving up. This opens up the hips to allow for maximal hip flexion while avoiding bony contact between the trochanters of the femur and the “spines” of the hip bone. Mark Rippetoe wrote a great article called “You Don’t Know Squat without an “Active Hip”” about this topic.
If that doesn’t clear things up, there is a pretty straight forward assessment you can use to see whether this is a soft tissue restriction or a joint anatomy restriction. A few months ago I had the pleasure of talking to Shirley Sahrmann about this issue. She recommended using quadruped rocking to assess their ROM.
Quadruped rocking involves putting the lifter in a quadruped position, with their knees under their hips, top of their feet flat against the floor, and hands under their shoulders. The lifter should set up in a neutral lumbar spine position, then use their arms to push their hips back (pushing into hip flexion) so as to sit on their heels, while MAINTAINING the neutral lumbar position. Note the angle that the hips begin to tuck. Stop them there, have them return to the starting position and try again. Dr. Sahrmann basically said that 8-10 repetitions of this should improve their hip ROM. If it doesn’t, their hip joint anatomy doesn’t allow for it and never will. Any attempt to push beyond this point will lead to lumbar flexion, and invariably some sort of back pain.
I’ve found this assessment to be incredibly useful. In less than 30 seconds I’m able to see what kind of hip flexion ROM someone has. If their hips start to tuck at 90 degrees every time, and it doesn’t improve with more repetitions, I know that’s the extent of their ROM and stop them at that point during all exercises (squats, lunges, etc.). Depending on the severity of the restriction, this may also mean that they can’t perform a deadlift off the floor, in which case I’d move them to a rack pull from a height slightly above their end range.
Ask your athlete where they feel the restriction while quadruped rocking. If they feel like they’re tight on the back side, some mobility work may clear that up, but it’s also likely that quadruped rocking will clear that up. If they feel restricted in the front or any type of grinding in or around their “groin” area, it’s likely a hip joint limitation. I don’t recommend forcing lifters through positions their hip joints don’t allow for. That is, unless they’re looking for low back pain and a hip labral tear. Hope this helps.
To your success,
Kevin Neeld
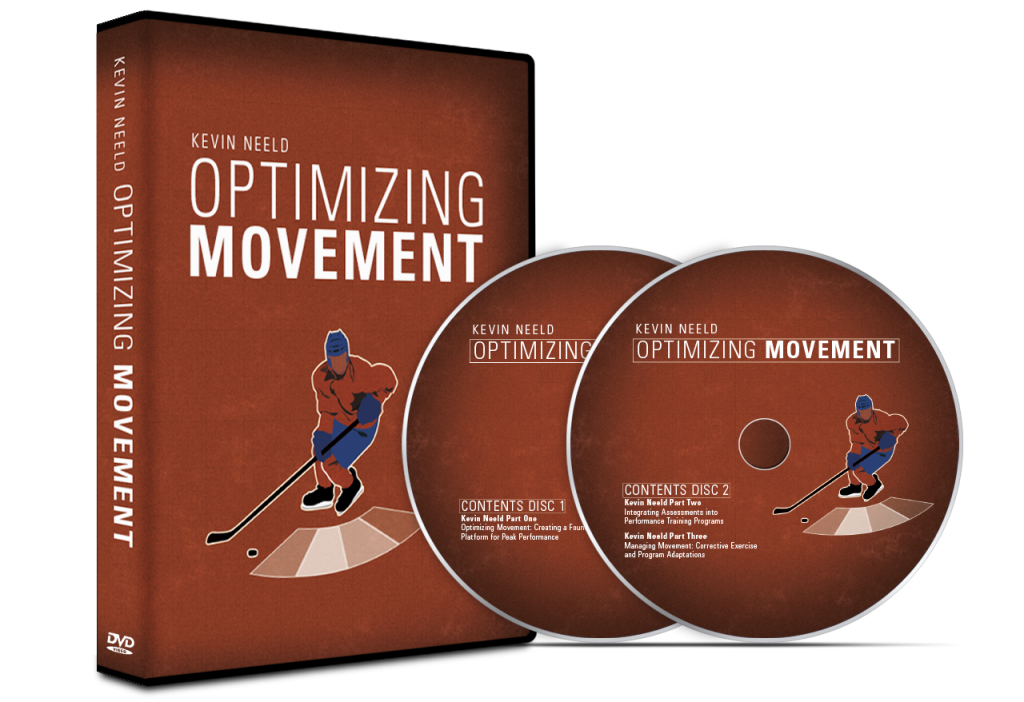
OptimizingMovement.com
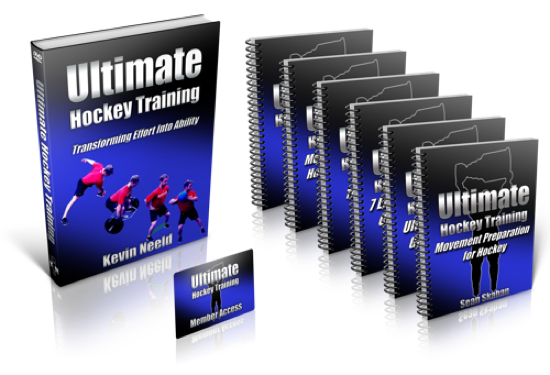
UltimateHockeyTraining.com
Please enter your first name and email below to sign up for my FREE Athletic Development and Hockey Training Newsletter!
Get Ultimate Hockey Training Now!
“…an extremely rare comprehensive look at the present state of ice hockey training.”
“…a must-have for coaches and strength professionals at all levels of hockey.”


 Use CODE: "Neeld15" to save 15%